Bike trailers are so much fun!….until you have a flat tire.
I’ve been there, and getting a flat especially while you’re out and about with a child is just about the worst biking experience imaginable.
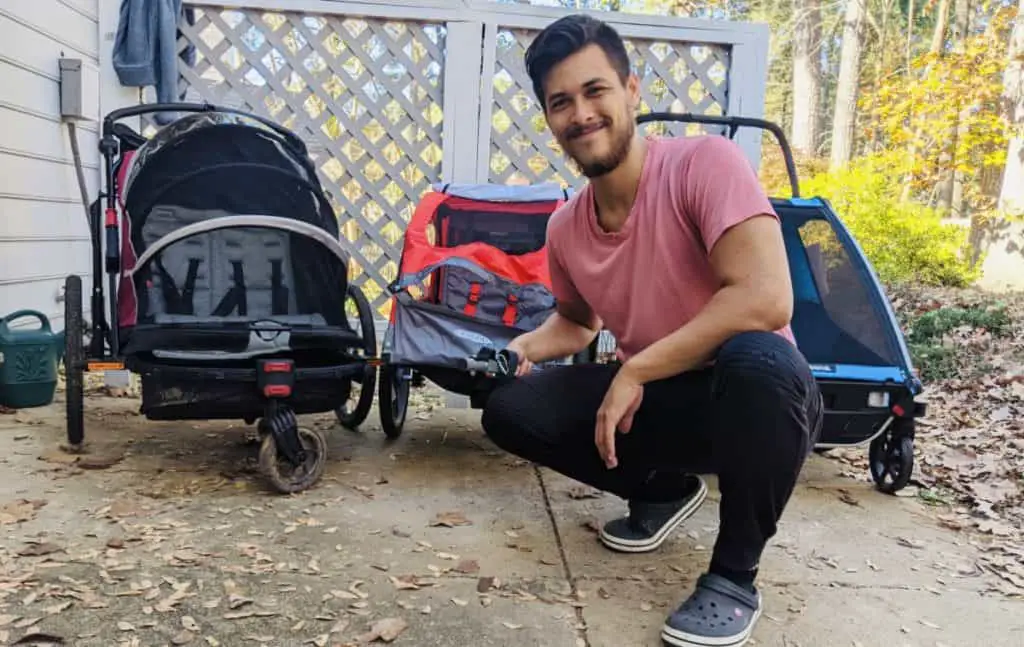
Bike trailers have been part of our family’s daily life ever since our two kids were infants.
This article covers everything you need to change a flat and prevent it from happening again.
Tools you will need to change a tire
These are tools that you should bring with you on every bike ride, especially when going on longer rides with kids:
- New inner tube
- Tire levers (recommended)
- Bike pump
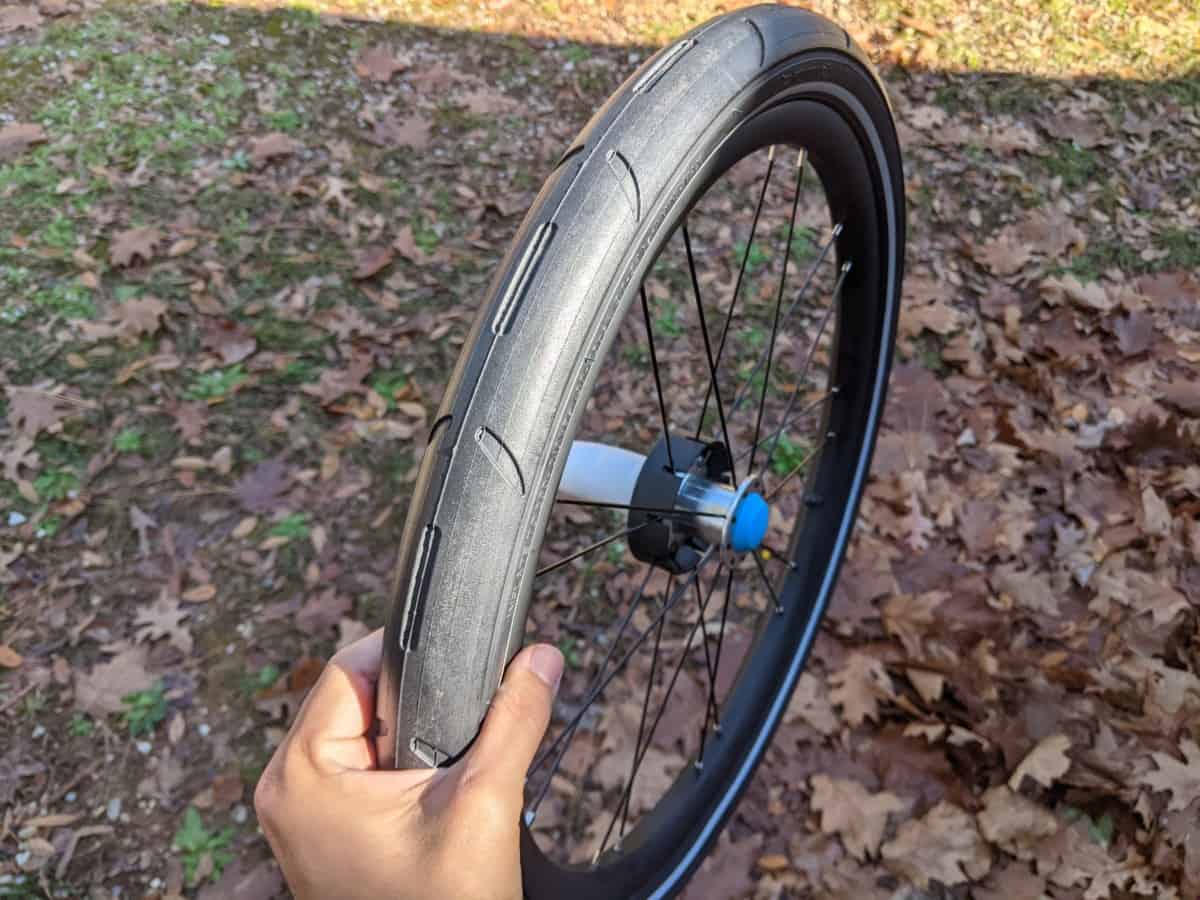
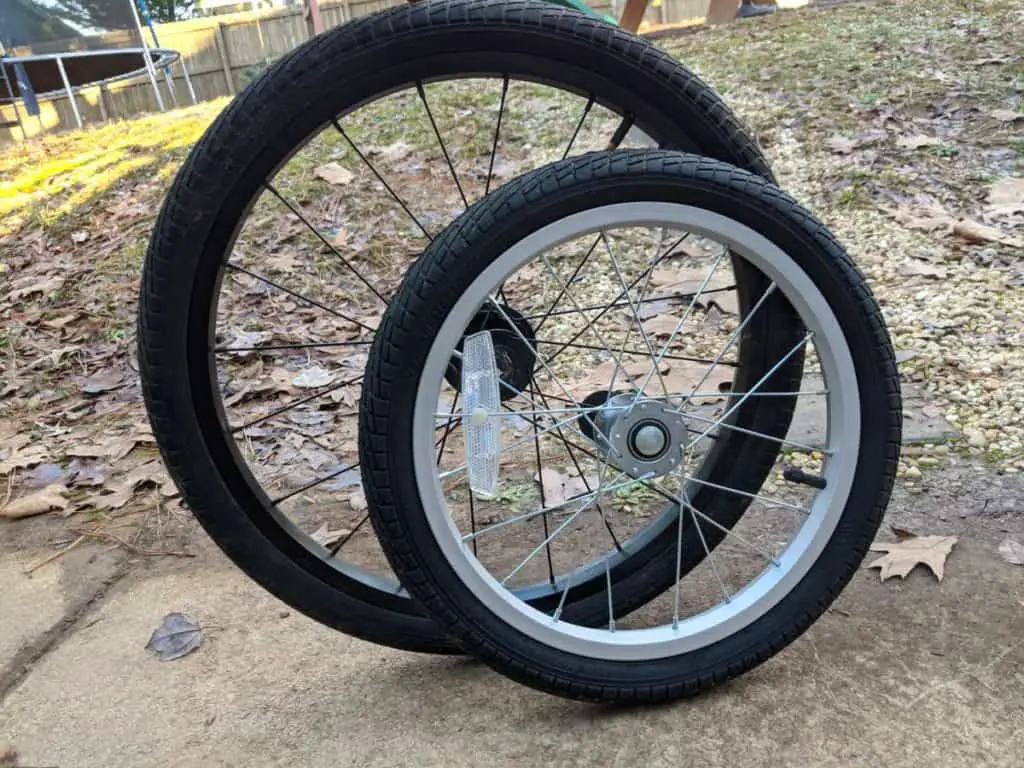
Step 1: Identify the size of your bike trailer wheels (16 or 20 inches)
Bike trailers come in either 16 inches or 20 inches. You can find the size of the tire by either looking at the label on the side of the tire or just measuring the diameter of the wheel.
Step 2: Purchase a replacement inner tube
I would recommend getting at least two tubes so that you always have a spare.
The links below are from some name-brand and affordable tubes on Amazon by Bell.
Other places to get tubes
You can also find tubes at a local bike shop, Walmart, Target, or any other place that sells bikes.
Step 3: Remove the tire from the wheel
You don’t need to remove the whole tire. You just need to remove half of the tire just so that you can remove the old inner tube and replace it with a new one.
You can remove the tires from the wheel using your hands or using tire levers. Removing the tire by hand can be significantly harder if the tire is on tight. Generally, taking the tire off (and re-attaching it) by hand will be a lot harder to do without a tire lever. For that reason, I highly recommend getting a pair of sturdy tire levers (like these ones I like from Amazon).
Make sure there is no air left in the tube before removing the tire. It will be much easier to remove the tire if there is no air left inside the tube.
Removing a tire with tire levers
To remove a tire with tire levers, place one tire lever under one end of the tire. Then lift just one side of the tire up over the rim of the wheel by propping it up with the tire lever .
With one tire lever still under the tire, take another lever and place it under the tire around the same area. Then, with the original lever still under the tire, work the second lever around the rim until the entire tire comes off.
If you can’t get the first tire lever under the tire, then try moving the tire around and squeezing it with your fingers to give the lever a little more space to get under the tire.
Removing a tire by hand
To remove a tire by hand, squeeze the tire at one end of the wheel and push the tire with your thumbs up over the wheel’s rim until it comes off. After you get one end of the tire off, it will be easy to just push the rest of the tire completely off.
If you cannot push one end of the tire over the rim, then it means the tire runs tight against the wheel, so you will need to use tire levers.
Step 4: Remove the old inner tube
Take out the tube from under the tire.
Again, you do not need to remove the whole tire to get the tube out. You just need to remove it half-way.
Step 5: Insert the new inner tube
Before inserting the new tube, it’s best to pump up the tube just enough to give it a shape. Doing so will make it easier to insert under the tire.
To insert the new tube, first insert the valve into the valve hole on the rim.
Then insert the rest of the tube. Once you have the tube firmly under the tire, release the air from the tube.
Step 6: Attach the tire to the wheel
Attaching the tire back onto the rim is the most difficult part of fixing a flat tire. But if you follow some of the suggestions below, it should be rather simple to do.
Since bike trailers are generally not very tight, you should be able to get the tire back on just using your hands. You can push the tire over the rim with both of your thumbs. Start at one end of the wheel and work your way all the way around to the other end.
If you can’t get the last bit of tire over the rim, then use tire levers to prop the tire over the rim.
Just be careful not to pinch the new tube with the tire lever when you pull on the lever. A pinch in the tube will result in another unwanted hole! I’ve pinched so many tubes while trying to get the tire back on with levers, so trust me when I say be careful. If you can, try to get the tire back on with just your hands first.
If you have stubborn tires
Bike trailer tires are generally not very tight, so you should be able to get it on just fine by using a few tire levers. But if your tire is very stubborn and you just can’t get the last bit of tire back on the rim, then there are a few things you can try.
1. Make sure the let all the air out of the tire.
Having any air left in the tire will make the tire harder to get on.
2. Use two tire levers to get more leverage
With one tire lever keeping the tire from coming off, prop the tire over the rim little by little while working your way around the rim.
Here’s a helpful video by GCN on how to get a stubborn tire on.
Step 7: Pump up the tire
Once you have the new tune in place and the tire back on, you’re ready to pump it up and start riding again!
Be sure to look at the recommended tire pressure (psi) that is labeled on the side of the tire.
How to prevent a flat bike trailer tire
The best way to prevent a flat bike tire is to know the most common causes of flats.
The most common causes of a flat are (1) incorrect tire pressure and (2) sharp objects.
1. Incorrect air pressure
If the tire pressure is too high, it can cause the tube to pop when you hit a pothole or large rock or ride over a curb. Any sudden impact to the tire can cause it to go flat when the tire is over inflated.
On the other side of the spectrum, if the tire pressure is too low, then the lack of air pressure in the tube can result in a pinch flat (also known as snake bites). Meaning, the under inflation of the tire results in the rim and road pinching the tube until it rips the tube. This is also common when the tire comes into sudden impact on the road.
2. Sharp objects
Although it’s difficult to anticipate when you might roll over a piece of glass or a nail, what you can do is look out for sharp objects in certain areas that are more prone to having sharp things lying around.
For example, a big city is more likely to have glass and sharp things on the road than other places that have greenways and bike paths.
However, I wouldn’t personally worry too much about coming across sharp objects. It’s just one of those things that is very difficult to predict and you’re better off just not worrying about it. If you do hit a sharp object, then consider it bad luck, fix it up, and keep riding.
My recommended bike trailer: Schwinn Joyrider
My recommended trailer for most people is the Swhinn Joyrider, which is an affordable double-seater that converts beautifully to a stroller. Check out my full review with photos here.
Check out the Ultimate Guide to Buying a Bike Trailer for more help with choosing a trailer. I also have compiled a list of the top bike trailers for every common situation, which you can check out here.
Ride on!